
Identity Validation
How to Use Applicant Identity Validation
-
Go to app.trully.ai and log in.
-
In the side menu, access the Identity Validation section or go to app.trully.ai/es/validation/create.
-
In the section, enter the information in the required, desired, and additional fields.
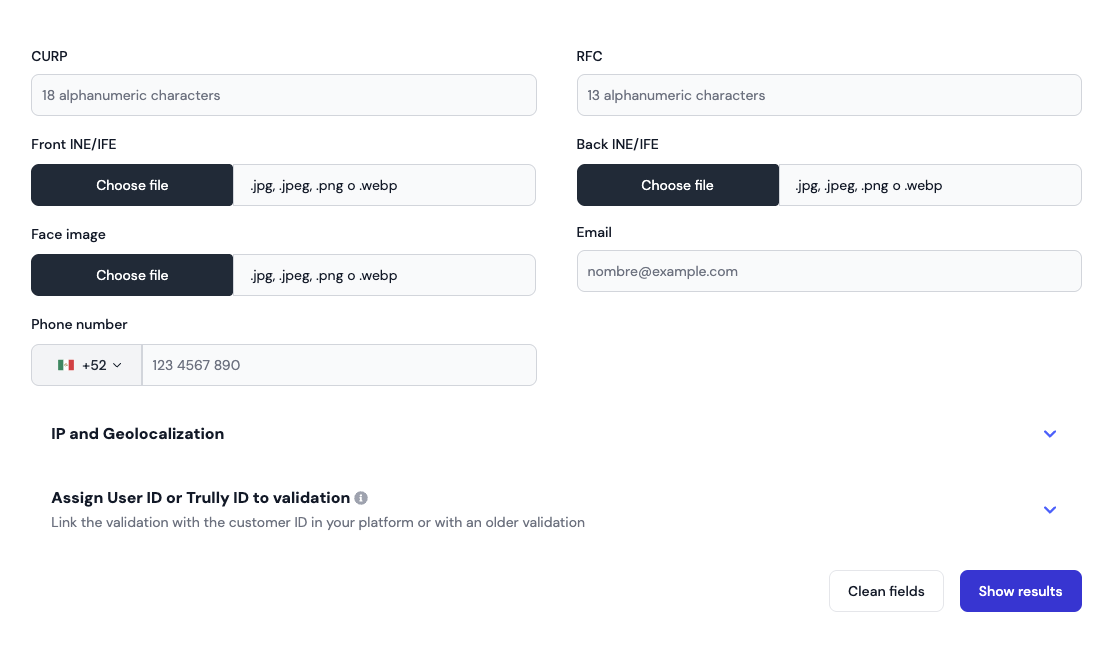
Required Data:
- User's Face Photograph: Image up to 4.5 MB .jpg, .jpeg, .png, .webp.
- CURP: 18 digits including the homoclave.\
Desired Data: - Front of INE Identification: Image up to 4.5 MB .jpg, .jpeg, .png, .webp.
- Back of INE Identification: Image up to 4.5 MB .jpg, .jpeg, .png, .web.\
Additional Data: - RFC.
- Email address.
- Address.
- Longitude and latitude.
- Phone number.
-
Assign a User ID or Trully ID (request_ID) to concatenate the validations to the same person
Note: Use the same ID you use in your company or platform database. -
In the lower right section, click on Show Results.
Manage Validation Columns
-
Access the Identity Validation section.
-
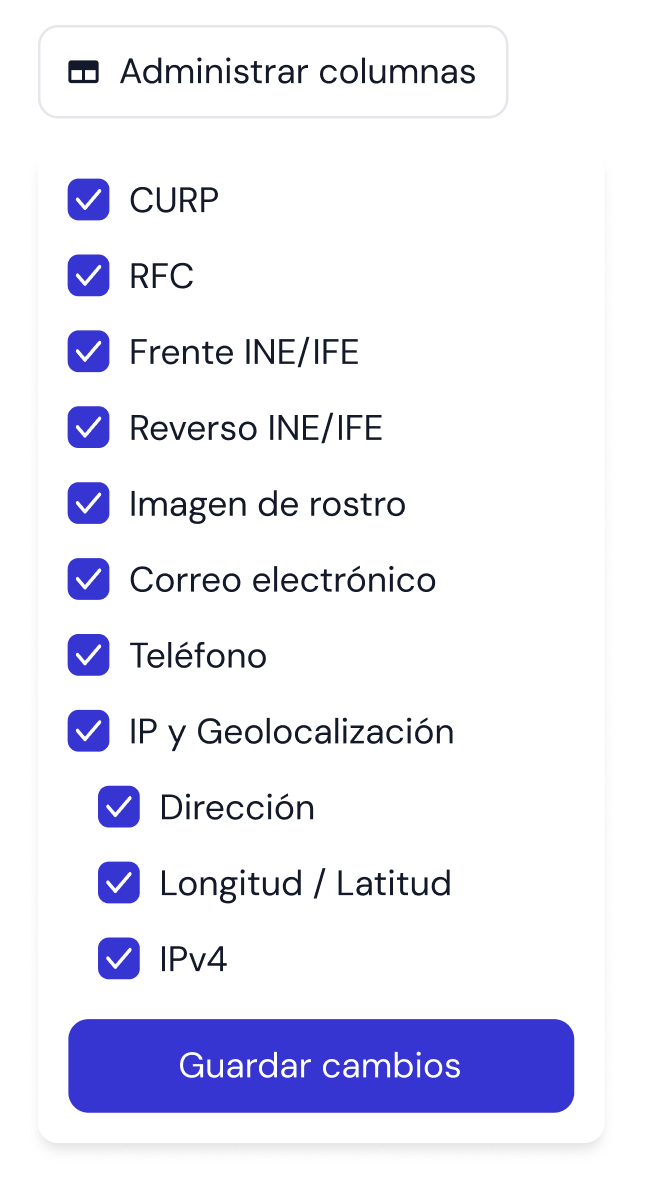
In the left corner, click the Manage Columns button.
-
Check or uncheck the box on the left side of each data point to activate or deactivate the display of the field.
Note: You can organize the data entries by clicking the check button. -
Click on Save to see the changes reflected in the New Validation section.
Updated 8 months ago